
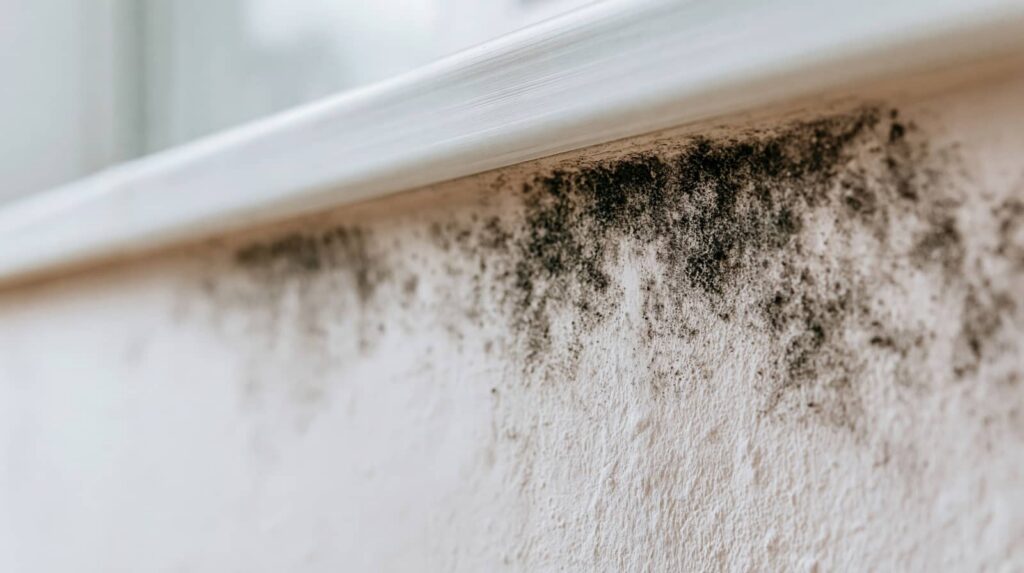
Mold Remediation is critical after flooding because you need to act fast to stop mold before it spreads. You can’t rely on surface drying alone, as hidden moisture often lingers in walls, subfloors, and insulation. Effective mold remediation also requires removing existing mold using the right containment, controls, and cleanup methods, or you’ll simply recycle the problem. The next steps matter more than most people realize.
Key Takeaways
- Dry the affected area immediately to stop mold from establishing.
- Remove and discard porous materials with visible mold growth or water damage.
- Clean hard surfaces with detergent and water, then apply an EPA-registered disinfectant.
- Use dehumidifiers, fans, and ventilation to keep indoor humidity below 50%.
- Wear N95, gloves, and eye protection; call a professional if contamination is extensive.
Stop Mold Growth After Flooding
After flooding, you need to dry the affected area immediately to stop mold from establishing itself. You should remove damaged materials that can’t be sanitized, because lingering organic matter feeds colonies.
Use dehumidifiers and fans to support humidity control, and keep indoor relative humidity below 50%. If you act within 24 to 48 hours, you greatly reduce risk.
Wear gloves, an N95 respirator, and eye protection when you handle contaminated surfaces. Clean hard, nonporous items with detergent and water, then apply an EPA-registered disinfectant.
Keep windows open only when outdoor air is dry. These preventive measures help you protect your home and your household as a team.
Monitor the area daily for odors, discoloration, or new moisture, and respond fast if conditions change.
Dry Hidden Moisture After Flooding
Even when visible surfaces seem dry, moisture can remain trapped behind drywall, under flooring, inside insulation, and within wall cavities, where it can keep mold active and allow new growth to spread.
You need moisture detection tools to confirm hidden saturation, because touch alone won’t reveal all problem areas. Use calibrated meters, thermal imaging, and humidity readings to locate damp pockets fast.
Then apply drying techniques that match the materials: increase airflow, dehumidify continuously, and maintain steady warmth without overheating. Open cavities where accessible so trapped vapor can escape.
You should monitor readings daily until content returns to normal limits. In a well-coordinated team effort, you’ll protect your space, reduce structural damage, and create the conditions needed for successful mold remediation.
Remove Mold Safely
Once hidden moisture is under control, you can start removing mold safely by isolating the affected area, limiting spore spread, and using proper protective equipment.
Wear an N95 respirator, gloves, and eye protection, then remove porous materials that show visible growth. For nonporous surfaces, scrub with detergent and water, and dry them completely.
During mold identification, note color, texture, and odor so you can track what’s been removed and what still needs attention.
Bag debris sealed, then clean tools and nearby surfaces to prevent cross-contamination. If contamination is extensive, call a qualified remediation specialist.
You’re protecting your home and your crew when you follow strict prevention strategies, verify dryness, and maintain ventilation throughout the job.
Frequently Asked Questions
How Do I Know if Mold Is Hidden Inside My Walls?
You’ll suspect hidden mold when you smell mustiness, see stains, or notice moisture, then confirm with a wall inspection. Use a moisture meter and borescope; soft drywall or allergy flares often reveal concealed growth.
When Should I Replace Materials Instead of Cleaning Mold?
Replace materials when they’re porous, extensively colonized, or structurally compromised; clean only nonporous surfaces with minor growth. You’ll confirm this through mold assessment and material evaluation, balancing safety with restoration so you’re not left behind.
Can Mold Return After Professional Remediation?
Yes, mold can return after professional remediation if you don’t control moisture or fix hidden sources. You’ll need strong remediation techniques, plus mold prevention strategies, to keep your space dry, safe, and protected.
What Health Symptoms Suggest Mold Exposure?
You might notice sneezing, coughing, wheezing, itchy eyes, skin irritation, headaches, or fatigue—subtle exposure symptoms that worsen near damp areas. Different mold types can trigger varying reactions, so you shouldn’t ignore persistent respiratory complaints.
How Often Should I Inspect for Mold After Remediation?
You should inspect quarterly for the first year, then twice yearly if conditions stay dry. Maintain your mold inspection frequency and post remediation maintenance after leaks, humidity spikes, or musty odors to protect your space.
To Sum Up
When flooding leaves mold behind, you need to act fast, like shutting a gate before the herd escapes. Isolate the affected area, wear an N95 and gloves, and scrub nonporous surfaces with detergent and water before using an EPA-registered disinfectant. Then hunt down hidden moisture, keep indoor humidity below 50%, and monitor conditions closely. If the infestation is widespread, don’t gamble bring in a professional remediation specialist to finish the job safely.