
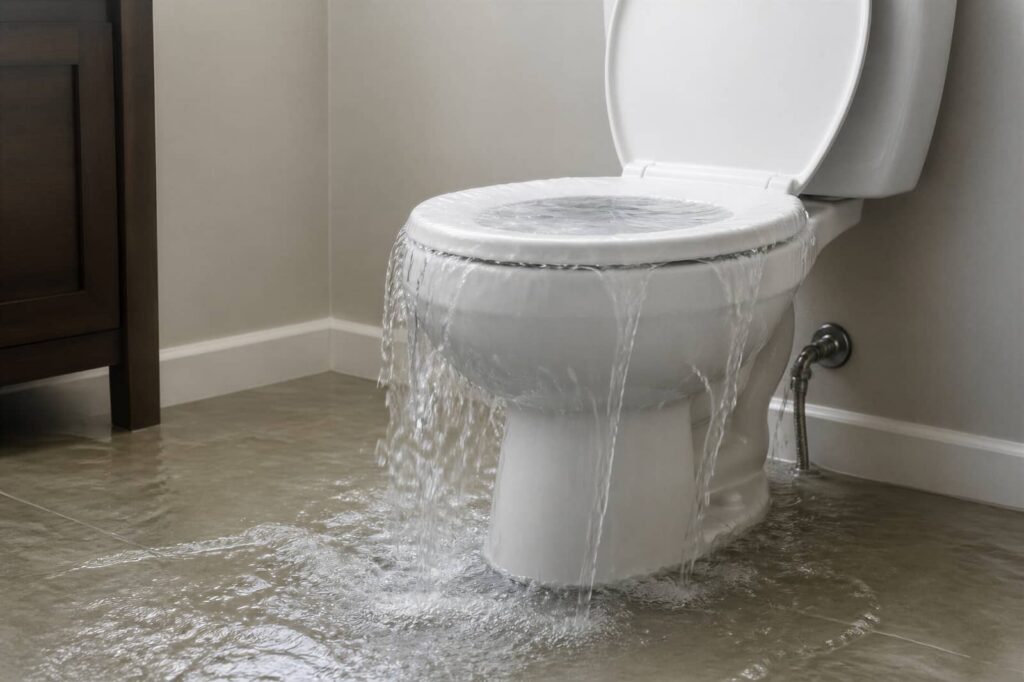
After flooding, you need to treat sewage as an immediate health hazard. Clean Sewage After Flooding starts with checking for leaks and hidden dangers, then shutting off water and power before entering the area. Put on gloves, boots, and appropriate protective equipment because contaminated water can expose you to bacteria and other hazards. Once the scene is secure, the real cleanup starts, and the next steps determine whether the space can be restored safely.
Key Takeaways
- Check for sewage leaks, black water, broken drains, and electrical hazards before entering the flooded area.
- Shut off the home’s water supply and main power if standing water or damaged wiring is present.
- Wear waterproof gloves, boots, eye protection, and an N95 or biohazard-rated respirator during cleanup.
- Remove sewage, clean hard surfaces with detergent, then disinfect with an approved product for the required contact time.
- Discard porous materials soaked by sewage, dry the area with fans and dehumidifiers, and call experts for widespread contamination.
Check for Sewage Leaks and Safety Hazards
Before you enter a flooded area, check for visible sewage leaks and other safety hazards, because floodwater may contain contaminated waste, sharp debris, downed electrical lines, and unstable flooring.
You should perform sewage detection from a safe distance, looking for standing black water, broken drain lines, or toilet backflow. Use a flashlight and avoid touching surfaces until you complete a hazard assessment.
If you smell strong sewer gas, see bubbling drains, or notice wet insulation, treat the area as unsafe. Wear boots, gloves, and eye protection if you must stay nearby, and keep other people out.
You’re part of a cautious cleanup team when you verify conditions first, report risks clearly, and wait for trained help before moving closer.
Shut Off Water and Power
If it’s safe to reach the main service points, shut off the home’s water supply first to stop additional sewage backflow and limit further contamination.
Then isolate electrical power at the main breaker if standing water, wet outlets, or damaged wiring are present. Follow local emergency procedures and your utility’s safety protocols before touching any panel.
If you can’t access the service equipment without exposure to floodwater, wait for trained help. Keep the area clear and confirm that all household members know power is off.
Label the shutoff points so your household can respond quickly if conditions change. By acting together and staying methodical, you reduce risk, protect the structure, and create a safer starting point for the cleanup that follows.
Wear Protective Gear for Sewage Cleanup
You should put on waterproof gloves before you handle any sewage-contaminated materials to reduce direct skin contact and chemical exposure.
Wear respiratory protection rated for biohazards or contaminated aerosols, especially if you’re disturbing dried sludge or working in enclosed areas.
Cover your entire body with boots, long sleeves, long pants, and a waterproof suit or disposable coveralls to limit contamination and support safe cleanup.
Choose Waterproof Gloves
Choose waterproof gloves that fully cover your hands and extend past your wrists, because sewage can carry bacteria, viruses, and sharp debris that can penetrate thin or damaged material.
Select durable glove materials such as nitrile, neoprene, or heavy PVC, since they resist tearing and limit seepage during cleanup.
Check glove sizes carefully so the fit stays snug without restricting movement; loose gloves can trap contaminated water, while tight gloves may split under stress.
Before you start, inspect each glove for punctures, cracks, or weak seams, and replace any damaged pair immediately.
Pull the cuffs over your sleeves to create a sealed barrier.
When you choose gear that fits your task, you protect your team and help everyone work with confidence.
Use Respiratory Protection
Use respiratory protection any time sewage cleanup may aerosolize contaminated droplets, mold spores, or dust from dried residue.
You’re guarding your lungs against respiratory hazards that can trigger infection, irritation, or asthma.
Choose protective equipment rated for the task, such as a well-fitting N95, P100, or better respirator when conditions demand it.
Check the seal each time, and replace filters if breathing gets harder or the facepiece is damaged.
If you wear glasses, tighten the fit so air can’t leak around the edges.
Keep your respirator on until the area is clean, dampened, and no visible contamination remains.
You’re part of a team when you work safely, so follow local guidance and don’t improvise with makeshift masks.
Wear Full-Body Coverage
Full-body coverage reduces direct contact with sewage and contaminated debris during cleanup. You should wear full body protection: waterproof coveralls, long gloves that extend over cuffs, rubber boots, and a face shield or goggles with a hood.
Seal openings at wrists, ankles, and neck so contaminated water can’t enter. If your suit tears, replace it immediately; damaged gear won’t meet safety considerations.
Keep a clean change of clothes outside the work area, and remove gear carefully to avoid self-contamination. Wash reusable items with hot water and disinfectant after each use.
Remove Sewage Water and Debris
Start by removing standing sewage water and any visible debris as soon as it’s safe to enter the area. You’ll reduce exposure and speed up flood damage assessment when you act methodically and stay within your team’s safety plan.
Use proven sewage removal techniques that match the contamination level and container size.
- Shut off power before pumping.
- Use a wet vacuum, pump, or absorbent materials rated for wastewater.
- Collect solids, silt, and broken materials in sealed bags or bins.
- Transport waste to approved disposal sites only.
Work slowly and check for hidden pockets under furniture and along edges.
If water keeps rising or you smell strong gas, exit and call your local response team. You’re not handling this alone; a careful, coordinated approach protects everyone.
Clean Surfaces Affected by Sewage
Once the area is cleared, clean all sewage-affected surfaces with a detergent and clean water first. Then disinfect them with a product approved for wastewater contamination.
You should work from the cleanest area toward the dirtiest, using effective cleaning techniques like scrubbing with dedicated brushes and wiping with disposable cloths.
Wear gloves, boots, and eye protection so you stay protected and confident while you work.
Rinse surfaces only after removing visible soil, and keep wash water from spreading to unaffected zones.
Place used cloths, filters, and other contaminated materials in sealed bags for safe disposal methods.
If porous materials stayed wet for long, remove them instead of trying to save them.
Stay methodical, and your team can restore a safer, healthier space together.
Disinfect and Sanitize the Area
After cleaning, disinfect all hard, nonporous surfaces with a wastewater-approved disinfectant mixed and applied exactly according to the label directions.
Keep your team protected by wearing gloves, boots, eye protection, and a mask during disinfecting surfaces. Use fresh solution, maintain the required wet contact time, and ventilate the area if the label allows it.
Treat sinks, counters, and floors methodically.
Rinse food-contact items only after disinfection if the product label requires it.
Clean and sanitize equipment separately, following manufacturer guidance.
Dispose of wipes, cloths, and residue in sealed bags.
Check every surface for complete coverage before you stop. If you’re working with others, confirm each person knows the steps and shares the same safe standard.
Dry the Area to Prevent Mold
Remove all standing water as soon as you finish disinfecting, because trapped moisture can support mold growth and damage materials.
Increase air circulation by opening windows and running fans, and keep airflow directed away from contaminated areas.
Use dehumidifiers correctly to lower indoor humidity, empty them often, and monitor conditions until the space is fully dry.
Remove Standing Water
If sewage has pooled indoors, you need to pump or bail out the standing water as soon as it’s safe to do so, because lingering moisture drives mold growth and keeps contamination active.
Use rated water extraction equipment and direct discharge only to approved drainage systems.
- Wear boots, gloves, and eye protection.
- Remove the deepest water first, then work toward low spots.
- Keep the pump intake clear of sludge and debris.
- Stop if electrical hazards or unstable flooring appear.
You’re protecting your home and your crew by reducing contact time with sewage.
As water levels drop, you can inspect surfaces for remaining puddles and repeat extraction until the floor is visibly dry.
Dispose of wastewater according to local rules, and keep children and pets out of the area until cleanup is complete.
Increase Air Circulation
Once standing water is gone, you should move air through the space right away to speed drying and limit mold growth. Open windows and doors if outdoor conditions are safe, and position fans to create crossflow from clean areas toward exits.
Use ventilation techniques that push damp air outside, not into closed rooms. Keep the airflow steady over walls, floors, and hidden corners where moisture lingers.
If the sewage area is large, isolate it from occupied spaces so you and your household don’t inhale contaminated aerosols. Run air purifiers with HEPA filtration nearby to capture airborne particles stirred up during cleanup.
Check for trapped moisture behind baseboards and furniture, and keep the room accessible so drying can continue without interruption.
Use Dehumidifiers Properly
Set dehumidifiers in the cleaned, ventilated area as soon as surfaces are washed and accessible so you can pull moisture out of walls, floors, and hidden cavities before mold takes hold.
Keep doors closed, route exhaust away from damp zones, and verify safe electrical connections before you start.
- Choose dehumidifier settings that maintain indoor humidity near 60%.
- Empty or drain units often so they don’t stop drying.
- Place units centrally, with intake and outlet clear.
- Check moisture control daily with a meter and adjust placement if readings stall.
You’re part of the recovery team when you dry the space fast and methodically.
If odors persist or humidity stays high, add another unit and keep monitoring until materials are dry.
Discard Unsalvageable Porous Materials
Porous materials that have absorbed sewage-contaminated floodwater usually can’t be cleaned safely, so you should discard them promptly to prevent mold growth and ongoing exposure.
Remove carpet, carpet padding, upholstery, insulation, drywall, ceiling tiles, and particleboard that stayed wet. Place items in heavy-duty plastic bags or wrap them securely before moving them through clean areas.
During porous material disposal, wear gloves, boots, eye protection, and an N95 respirator if dust is present. Keep contaminated debris separate from salvageable belongings so your flood damage assessment stays accurate.
Mark removed materials clearly and document what you discard for insurance records. If a material is soft, swollen, delaminated, or odor-retaining, treat it as unsalvageable and discard it without delay.
When to Call Sewage Cleanup Experts
Call sewage cleanup experts when the contamination is widespread, the sewage has soaked into structural materials, or you can’t safely remove and disinfect affected areas yourself. You’re protecting your home and community when you get a professional assessment after floodwater contacts black water.
Experts can measure moisture, identify hidden contamination, and reduce health risks from bacteria, viruses, and toxic gases.
- Call immediately if sewage reaches HVAC, insulation, or wall cavities.
- Request containment, extraction, and disinfection from trained crews.
- Avoid DIY cleanup if you have wounds, asthma, or immune concerns.
- Document damage and follow their clearance steps before reentry.
Trusting qualified help lets you act decisively, stay safe, and restore a clean space for everyone who belongs there.
Frequently Asked Questions
How Soon Should Contaminated Items Be Bagged After Flooding?
You should bag contaminated items immediately after flooding, once you’ve assessed contamination signs and taken safety precautions. Don’t wait; seal them promptly to prevent spread, protect your home, and keep your cleanup team safe.
Can Household Bleach Alone Eliminate Sewage Odors?
No, household bleach alone usually won’t eliminate sewage odor; its bleach effectiveness is limited on porous materials. You’ll need thorough cleaning, drying, and ventilation—think of Banquo’s ghost, lingering until you remove the source safely.
What Should Be Done With Contaminated Food in the Fridge?
You should discard all contaminated food in the fridge immediately; contaminated food disposal prevents illness. Wear gloves, keep the door closed, and follow safety precautions. If food touched floodwater or sewage, don’t taste or salvage it.
How Long Does Sewage Cleanup Usually Take?
Usually, you’ll spend one to several days on sewage cleanup, depending on contamination and damage. You should follow safety precautions, use proper cleanup equipment, and work with your team to restore a safe, healthy space.
Is Floodwater Sewage Cleanup Covered by Homeowners Insurance?
Usually not; you’ll need flood insurance. Why risk surprise? Your homeowners policy often excludes flood-caused sewage damage, and coverage limits matter. Check policy exclusions, then call your insurer before you start cleanup.
Conclusion
By following these steps, you can clean sewage after flooding safely and reduce long-term damage. Check for leaks and hazards, shut off water and power, and wear proper protective gear before you begin. Remove contaminated water and debris, then clean, disinfect, and dry all affected surfaces thoroughly. Toss unsalvageable porous materials right away. If the damage is extensive, don’t hesitate to call sewage cleanup experts. Keep the area as controlled as a surgeon’s room.