
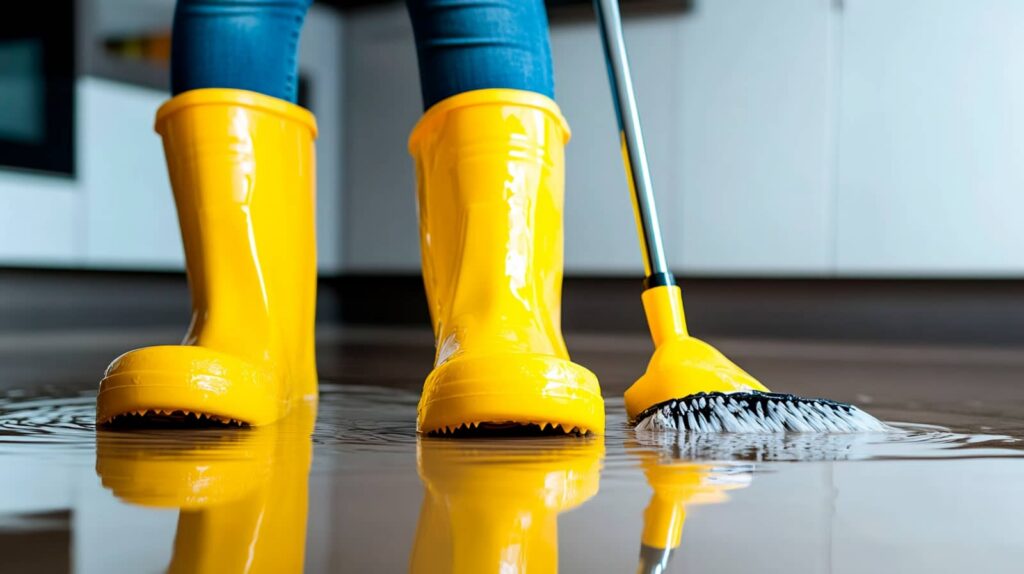
Structural Drying is essential after a storm, especially when a basement can soak up water like a sponge left in a sink overnight. You need to move fast by extracting standing water, setting controlled airflow, and using dehumidification before moisture settles into wall cavities, floors, and subfloors. If you wait too long, hidden dampness can lead to microbial growth and weaken building materials. The exact structural drying method depends on what’s wet, and the next step isn’t always obvious.
Key Takeaways
- Stop the water source, secure the area, and document damage before drying begins.
- Remove standing water quickly to reduce saturation and speed structural drying.
- Use air movers, dehumidifiers, and controlled airflow to dry hidden moisture in cavities and materials.
- Monitor moisture levels daily with meters to confirm safe drying and prevent mold growth.
- Call professionals for sewage, stormwater, severe saturation, mold, or persistent hidden moisture.
Structural Drying After Flood Damage
Structural drying after flood damage starts with rapid water extraction. Then it moves into controlled dehumidification and air movement to remove moisture from building materials.
You need a measured process that targets hidden water damage in drywall, subfloors, insulation, and framing. Technicians verify moisture levels with meters, then adjust airflow and equipment placement to speed evaporation without over-drying surfaces.
This approach helps protect structural integrity, reduce warping, and limit microbial growth. You’ll see faster recovery when each affected zone gets monitored daily and documented.
If you’re part of a property team, you can stay aligned by tracking readings, humidity, and temperature together. That method keeps you informed, supports confident decisions, and helps your building return to safe, stable condition.
What to Do Before Drying Starts
Before drying equipment starts, you need to secure the area, stop the source of water if it’s still active, and document the damage with photos and moisture readings.
Next, complete a preparation checklist so you can track access points, affected materials, and utility status.
Put on safety measures first: shut off electrical circuits in wet zones, wear protective gear, and keep occupants out of unsafe rooms.
Remove loose items that could shift, but don’t disturb saturated structures.
Open communication with your restoration team helps you stay aligned and informed.
Mark wet and dry boundaries, note odors, and record temperature and humidity.
These steps create a clear baseline, protect your crew, and help everyone work with confidence toward a controlled drying plan.
How Pros Remove Hidden Moisture
You’ll need moisture mapping tools to locate trapped water behind finishes, under flooring, and inside assemblies.
Pros then target wall cavity drying with controlled airflow, heat, and dehumidification to extract moisture where standard surface drying won’t reach.
This method lets you verify dry conditions before you close the structure back up.
Moisture Mapping Tools
Moisture mapping tools help pros locate hidden water after flood damage by turning guesswork into a measured drying plan. You’ll see technicians use moisture detection meters, infrared cameras, and hygrometers to build a clear site picture.
They test surfaces in a grid, record readings, and compare them against dry standards. With mapping techniques, they mark wet zones, track gradients, and confirm where drying equipment should focus.
You’re part of a team that values accuracy, so each reading guides the next move. This method reduces wasted airflow, shortens drying time, and lowers the chance of lingering moisture.
When the map stays current, you know the structure’s progress and can trust each adjustment.
Wall Cavity Drying
When wall cavities trap floodwater, pros open controlled access points and use measured air movement and dehumidification to pull hidden moisture from behind the drywall.
You’ll see them verify the cavity with moisture meters, then target each bay so the whole assembly dries evenly. They protect wall insulation, replace saturated materials, and keep airflow balanced to avoid forcing moisture deeper.
These drying techniques work best when you pair heat, negative pressure, and controlled exhaust, letting vapor leave without damaging finishes.
You’re part of a careful process that restores the wall system methodically, bay by bay.
Pros document readings, adjust equipment daily, and confirm the cavity returns to safe levels before closing openings.
That precision helps your structure recover cleanly and confidently.
Why Fast Drying Prevents Mold
Fast drying limits the time water remains in porous materials, which reduces the conditions mold needs to colonize and spread.
When you lower moisture quickly, you interrupt fungal growth before spores can anchor into drywall, framing, or insulation. This is the core of mold prevention and moisture control: keep relative humidity down, remove absorbed water, and verify that hidden cavities no longer support microbial activity.
You’ll protect shared living spaces by acting within the first 24 to 48 hours, when materials still respond efficiently to drying.
Measure surface and core moisture, then confirm stable readings before closing assemblies.
When you follow this method, you join a group of owners who protect both structure and indoor air quality through disciplined response.
Drying Equipment Used in Homes
Home drying usually relies on a small set of tools: air movers, dehumidifiers, and sometimes heat or specialized extraction equipment.
You’ll use air movers to increase surface evaporation and improve circulation, and the air mover benefits include faster moisture removal and more uniform conditions across rooms.
Choose dehumidifier types by comparing capacity, efficiency, and control features; refrigerant units work well in warm spaces, while desiccant units perform better in cooler conditions.
You may also use low-level heat to raise vapor pressure, but you should monitor temperature and humidity closely.
If standing water remains, extraction equipment can reduce the load before drying starts.
Together, these tools help you join a structured drying process that protects your home and supports a steady recovery.
How Walls, Floors, and Subfloors Dry
You’ll need to dry walls by exposing wet cavities, removing trapped insulation if needed, and moving air through the framing until moisture levels drop to target range.
For floors, you should extract standing water, lift affected coverings as needed, and run controlled airflow and dehumidification across the surface.
Subfloors often dry more slowly, so you’ll monitor moisture readings and adjust equipment until the structural materials stabilize.
Wall Drying Process
Wall drying starts with moisture mapping so you can identify how far water has wicked into drywall, plaster, framing, and insulation.
You then remove baseboards, open controlled inspection points, and verify hidden cavities with meters and thermal imaging. Aim air movers at the wall face, and place dehumidifiers to lower vapor pressure around the assembly.
If the wall includes moisture barriers, check them for trapped water and preserve drying pathways. Protect insulation integrity by replacing any saturated, compressed, or contaminated material that can’t recover.
You’ll get better results when you maintain steady airflow, document readings, and compare each zone until moisture levels stabilize. This method keeps your crew aligned, speeds restoration, and helps you return to a sound, dry structure together.
Floor And Subfloor Drying
When water reaches the floor system, drying has to account for the finish flooring, the underlayment, and the subfloor as separate layers with different drying rates.
You should remove base trim, lift damaged flooring, and expose hidden cavities so air can move freely.
During subfloor inspection, check for cupping, delamination, swelling, and fastener corrosion.
You’ll get better results when you pair low-grain dehumidification with targeted airflow across the surface and through any drilled access points.
Measure moisture at several depths, because moisture retention often persists in seams, adhesive beds, and joist bays after the visible surface looks dry.
Keep records, compare readings daily, and continue drying until materials stabilize at safe levels.
That method protects structural integrity and helps your team restore the space with confidence.
How Long Drying Usually Takes
Drying time after flood damage typically ranges from 3 to 7 days for light-to-moderate water intrusion, but severe saturation can require 1 to 2 weeks or longer.
Your drying duration depends on drying factors like material type, airflow, humidity, temperature, and how quickly you start extraction. You’ll usually move faster when you coordinate a disciplined, room-by-room plan.
- Remove standing water first
- Open hidden cavities
- Run dehumidifiers continuously
- Increase controlled air movement
- Track moisture daily
As part of your team, you should expect porous materials to lag behind dense surfaces.
Basements, insulation, and framing often need extra time because they hold moisture deeper in the structure. If you keep conditions stable and equipment sized correctly, you’ll shorten the overall schedule without sacrificing precision.
Signs Your House Is Dry Enough
A fully dried structure shows stable moisture readings, no damp odor, and surfaces that feel uniformly dry to the touch.
You can verify drying indicators by checking baseboards, subfloors, drywall edges, and framing for consistent conditions throughout the affected area. Use a calibrated meter to compare moisture levels against unaffected rooms, and look for values that stay steady across several readings.
Paint, trim, and flooring shouldn’t feel cool, swollen, or soft. In your home, clean air movement and normal indoor humidity also support confidence that drying has finished.
When you move through the space, it should feel clean, settled, and ready for daily use again. If every measured zone matches, you’re seeing a reliable sign that the structure’s moisture has returned to normal.
When to Call Water Damage Experts
Even with steady moisture readings and dry surfaces, some flood conditions call for professional help. You should contact water damage experts when you see hidden saturation, persistent odors, warped framing, or contamination risk.
Their expert consultation helps you verify drying, isolate affected assemblies, and protect your home’s structure.
- Wall cavities still feel cool or damp
- Hardwood cupping, buckling, or separation continues
- Insulation or subflooring stayed wet
- Sewage, river, or stormwater entered
- Mold appears within 48 hours
You’re not overreacting by asking for help; you’re choosing a measured response that fits the situation.
A qualified team can test concealed moisture, document losses, and set targeted equipment. That keeps your recovery efficient and helps you stay connected to a community of owners who take water damage seriously.
Frequently Asked Questions
Can Structural Drying Remove Odors After Flood Water Damage?
Yes, you can reduce odors with structural drying, but you’ll usually need odor removal steps too. In flood restoration, you’ll dehumidify, clean, disinfect, and isolate materials so you restore a healthier, more comfortable space.
Is Structural Drying Safe for Older Homes With Lead Paint?
Yes, you can use structural drying safely in older homes with lead paint if you manage lead paint safety and older home considerations carefully. You’ll need containment, low-disturbance methods, and certified professionals to protect your household.
Does Structural Drying Affect Electrical Wiring Inside Walls?
Yes—if moisture detection shows damp conductors, you’ll need wiring safety checks before drying. Measure wall moisture, inspect junctions, and monitor circuits. A stitch in time saves nine, and you’ll protect your home’s trusted systems.
Can Furniture Be Dried During Structural Drying Too?
Yes, you can dry furniture during structural drying too. You’ll need furniture restoration methods and drying equipment set correctly, so you protect materials, reduce warping, and keep your space comfortable, orderly, and recoverable.
Will Structural Drying Insurance Cover All Cleanup Costs?
Not always; your insurer might pay most cleanup, but coverage limits and policy exclusions can leave gaps. For example, if a basement flood exceeds $10,000, you’ll owe the rest unless you’ve added extra endorsements.
Recap
You can’t wait for flood moisture to “just disappear.” If you start extraction quickly, then control airflow and dehumidification, you limit hidden water in wall cavities, subfloors, and insulation. Even if surfaces seem dry, you still need daily monitoring to verify moisture levels and prevent microbial growth. When drying stalls or damage reaches concealed areas, call water damage experts. With a methodical process, you’ll restore structural integrity and reduce long-term loss.