
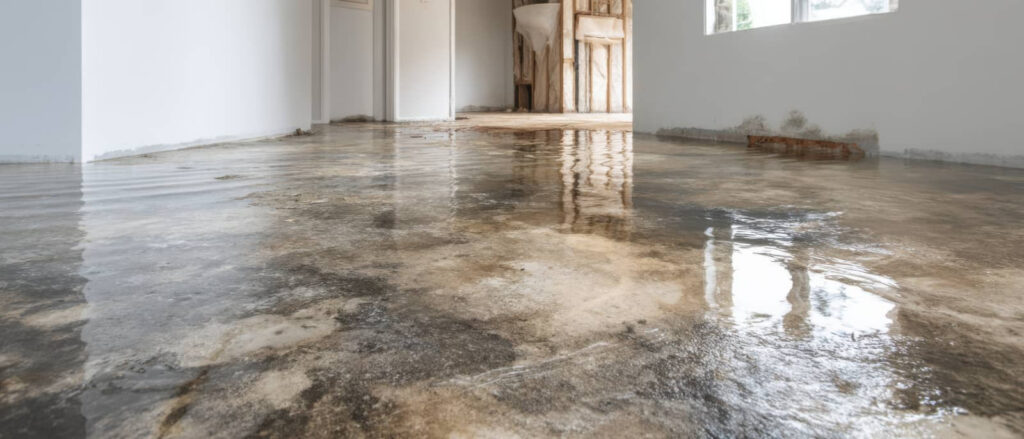
After a storm, hidden moisture can become a silent seed of damage. You’ll see storm damage mold experts inspect wet materials, map moisture with meters and thermal imaging, and contain affected areas before spores spread. They test mold levels, remove contaminated material, dry framing and contents, and sanitize surfaces and air. Then they check for hidden growth in walls and attics, with repairs and prevention steps still to come.
Key Takeaways
- Inspect storm-damaged areas for hidden mold, moisture, and water travel in roofs, walls, ceilings, basements, and crawl spaces.
- Use moisture meters, thermal imaging, and mold sampling to map contamination and identify the affected areas accurately.
- Contain the damage, control humidity, and filter air to stop mold spores from spreading during remediation.
- Remove mold safely with HEPA vacuuming, approved cleaners, and PPE, while checking for hidden contamination behind materials.
- Dry, repair, and replace damaged materials only after moisture levels are safe, then document the cleanup and restoration steps.
What Storm Damage Mold Experts Inspect First
When storm damage mold experts arrive, they usually inspect the areas most likely to hold hidden moisture first: roofs, ceilings, attics, wall cavities, basements, crawl spaces, and around windows and plumbing penetrations.
You can expect them to use inspection techniques such as moisture meters, thermal imaging, and visual checks for staining, swelling, or odor. They focus on temperature differences, trapped water, and damaged materials that support mold growth prevention planning.
You’ll often see them document affected zones, note air movement limits, and identify where water may have traveled beyond obvious damage. This first pass helps you understand what needs attention and where risks are highest, so you’re not guessing about hidden conditions.
Clear findings also keep your team aligned and informed.
How Experts Stop Mold From Spreading
You’ll stop mold spread by first controlling the moisture source, since active leaks or saturation keep growth going.
Next, you’ll see experts set up containment barriers to isolate affected areas and limit cross-contamination.
They’ll also use air filtration systems to capture airborne spores and reduce movement through the structure.
Moisture Source Control
Before mold can be stopped, experts first locate and control the moisture source that’s feeding it, because active dampness allows spores to keep spreading.
You’ll usually see moisture detection tools, such as meters and thermal imaging, used to find hidden leaks, wet insulation, or saturated framing.
Once they confirm the source, they’ll stop the intrusion, whether it comes from a roof breach, burst pipe, or storm-driven seepage.
They also use humidity control to lower indoor moisture and slow mold growth while repairs move forward.
You’re part of a team when this happens, and the goal is to protect your structure without creating new problems.
Containment Barriers Setup
Once the moisture source is controlled, experts set up containment barriers to keep disturbed mold from spreading into clean areas during removal.
You’ll see them measure the affected zone, then seal it with barrier materials such as polyethylene sheeting and tape. These containment techniques create a controlled work area that helps protect adjacent rooms, HVAC pathways, and belongings you still need to use.
You’re kept informed so you know which spaces are isolated and why. Openings, seams, and returns get checked carefully, because even small gaps can let spores escape.
The setup isn’t meant to punish you; it’s meant to give you a safer, more organized cleanup and help your home feel manageable while the work moves forward.
Air Filtration Systems
To limit airborne spread during mold removal, experts bring in air filtration systems that continuously pull contaminated air through high-efficiency filters, often HEPA units.
You’ll see them placed to create controlled airflow, so spores don’t drift into clean areas. These machines help improve air quality by capturing fine particles before they settle elsewhere.
You can expect technicians to monitor filtration efficiency, check filter loading, and replace cartridges when airflow drops. They may run units for the full containment period and after cleaning to reduce residual contamination.
If your home is part of the work zone, this step helps you feel safer while the team protects shared spaces. Proper filtration doesn’t remove every risk, but it’s a critical layer in stopping mold from spreading.
Test Mold and Map Moisture
You should test visible and hidden mold samples to identify the species present and gauge how far contamination has progressed.
You can pair those results with moisture mapping tools to pinpoint wet building materials and trace the water source.
This approach helps you target cleanup with less guesswork and lower the risk of missed growth.
Mold Sample Analysis
Mold sampling is the evidence trail that helps pinpoint what’s growing, where it’s spreading, and how far storm moisture has penetrated hidden building materials.
You’ll use sampling methods like surface lifts, air cassettes, and bulk collection to compare suspect areas with clean reference spaces. The lab can identify mold types that suggest recent water intrusion, long-standing dampness, or contamination from outdoors.
You should treat results as one part of a larger assessment, because colony counts alone don’t prove risk. When you review the report, look for patterns that match damp drywall, insulation, framing, or flooring.
That helps you and your restoration team prioritize removal, drying, and containment steps with confidence.
Moisture Mapping Tools
Moisture mapping tools show where storm water entered, how far it migrated, and which materials still hold hidden dampness. You use moisture detection devices such as pin meters, capacitance probes, thermal cameras, and hygrometers to compare affected rooms and spot patterns that aren’t obvious.
Careful mapping techniques let you trace wet drywall, insulation, subflooring, and framing before damage spreads or mold starts growing. You’ll often mark readings on a floor plan, then retest after drying to confirm progress. This process helps you work with a trusted team, make informed decisions, and feel confident that no damp pocket gets missed.
Because conditions change quickly, you should document every reading, note temperature and humidity, and verify suspicious areas with direct testing.
Removing Mold After Flood Cleanup
After flood cleanup, remove visible mold only when the affected area has dried enough to work safely, because scrubbing wet materials can spread spores and increase contamination.
You protect your team and your home by isolating the work area, wearing proper PPE, and disposing of porous items that can’t be cleaned.
Use HEPA vacuuming, then wipe hard surfaces with an approved detergent solution, changing cloths often.
In the flood aftermath, check for hidden mold growth behind trim, under insulation, and inside cavities before you finish.
If contamination covers a large area or keeps returning, bring in certified mold experts who can verify cleanup and guide next steps.
That way, you stay informed, prepared, and part of a response plan that supports everyone involved.
Drying Materials During Water Damage Restoration
Even when surfaces look dry, you still need to verify that materials have reached a safe moisture level before repairs begin. You start by completing water extraction, then you apply targeted drying techniques to remove remaining moisture from floors, drywall, trim, and framing.
You’ll usually use air movers, dehumidifiers, and controlled ventilation to keep humidity in check and speed evaporation. You should monitor readings with moisture meters and adjust equipment as materials respond, because different layers dry at different rates.
If you rush this step, you can trap dampness and weaken repairs later. By staying methodical, you protect your home, support healthier conditions, and help your team work with confidence.
Careful drying also reduces odors, limits delays, and keeps your project moving forward.
Finding Hidden Mold in Walls and Attics
Once materials reach a safe moisture level, you still need to check for mold that may be hidden inside walls and attic spaces. You’ll use moisture meters, thermal imaging, and careful visual checks to spot hidden mold before it spreads.
In walls, you may see staining, warped drywall, or musty odors that point to trapped dampness. During attic inspections, you should look at roof sheathing, insulation, and framing for discoloration, condensation, or fungal growth.
If readings stay elevated, you may need limited opening of surfaces to confirm what’s behind them. You’re not guessing; you’re verifying conditions so your home team can make informed decisions.
When you work methodically, you protect the structure and help everyone feel confident that no concealed problem is being missed.
Sanitizing Surfaces and Air After Remediation
When remediation is complete, you should sanitize both exposed surfaces and the indoor air to reduce any remaining mold residue and contamination. You can use approved cleaners and sanitizing equipment to treat hard surfaces, but you should avoid oversaturating materials.
To protect your home team, verify that each pass targets dust, spores, and settled debris. Monitor air quality before, during, and after treatment so you know whether lingering particles remain.
- Wipe nonporous areas carefully
- HEPA-vacuum nearby surfaces
- Run air scrubbers as directed
- Disinfect tools after use
You’re not just cleaning; you’re restoring a safer shared space. Keep windows closed during treatment, follow product labels exactly, and recheck humidity so mold doesn’t rebound in untreated pockets.
Repairs After Mold Cleanup
After mold cleanup, you should repair damaged materials only after the area is fully dry and verified safe.
You’ll then assess framing, drywall, insulation, and finishes for hidden deterioration, and you’ll match repair strategies to the material type and extent of damage.
Replace any porous components that stayed contaminated, and use approved patching, sealing, and fastening methods for salvageable sections.
Keep your repairs aligned with the cleanup techniques already used, so you don’t trap moisture or spread residue.
If you’re restoring shared spaces, coordinate with your crew so everyone follows the same containment and inspection standards.
Document each step, confirm that surfaces remain dry, and use compatible materials that support a stable, clean rebuild.
How to Prevent Mold After Future Storms
To keep mold from returning after future storms, you’ll need to act before water has a chance to sit in your structure. Build storm preparedness into your routine by checking roofing, sealing gaps, and testing sump pumps before severe weather.
After each event, you should dry materials within 24 to 48 hours and inspect hidden cavities, because damp insulation can feed growth fast. These mold prevention tips help you stay ahead with your neighbors and protect shared spaces.
- Clear gutters and downspouts.
- Elevate stored items off floors.
- Use dehumidifiers in humid rooms.
- Document leaks and cleanup steps.
If flooding happens, remove porous items that stay wet, and call qualified help for stubborn moisture.
You’re not just reacting; you’re safeguarding a healthier home and community.
Frequently Asked Questions
How Quickly Should I Call a Mold Expert After Storm Damage?
Call a mold expert within 24–48 hours after storm damage; mold can start fast. Follow post storm precautions, document moisture, and follow your mold removal timeline so you stay protected with your community.
Do Storm Damage Mold Experts Work With Insurance Claims?
Yes, you can expect storm damage mold experts to help with insurance processes and claim adjustments. They document damage, provide moisture reports, and coordinate with adjusters, so you’ll feel informed, supported, and protected throughout claims.
Can Mold Grow Inside HVAC Systems After Flooding?
Yes, mold can grow inside your HVAC system after flooding if you don’t dry it quickly. During flood recovery, schedule HVAC maintenance, inspect ducts, coils, and drain pans, and replace contaminated filters promptly.
How Long Does a Typical Mold Inspection Take?
A typical mold inspection takes 1 to 3 hours, but your inspection duration factors include property size, moisture access, and sampling needs. You’ll get mold inspection techniques like visual checks, thermal imaging, and air testing.
Are Storm Damage Mold Experts Available for Emergency Service?
Yes, you can usually get storm damage mold experts for emergency response, and they’ll assess moisture quickly. You’ll need prompt mold remediation to limit growth, protect your space, and restore a safer, healthier environment.
Review
So, when storm damage leaves your property wet, what do you do next? You call storm damage mold experts to inspect moisture, contain affected areas, and stop spread fast. They test for mold, remove contamination, dry materials, and sanitize surfaces and air. Then they repair damage and check hidden spaces for lingering growth. By acting quickly and carefully, you reduce health risks and help keep future storms from turning minor leaks into major mold problems.