
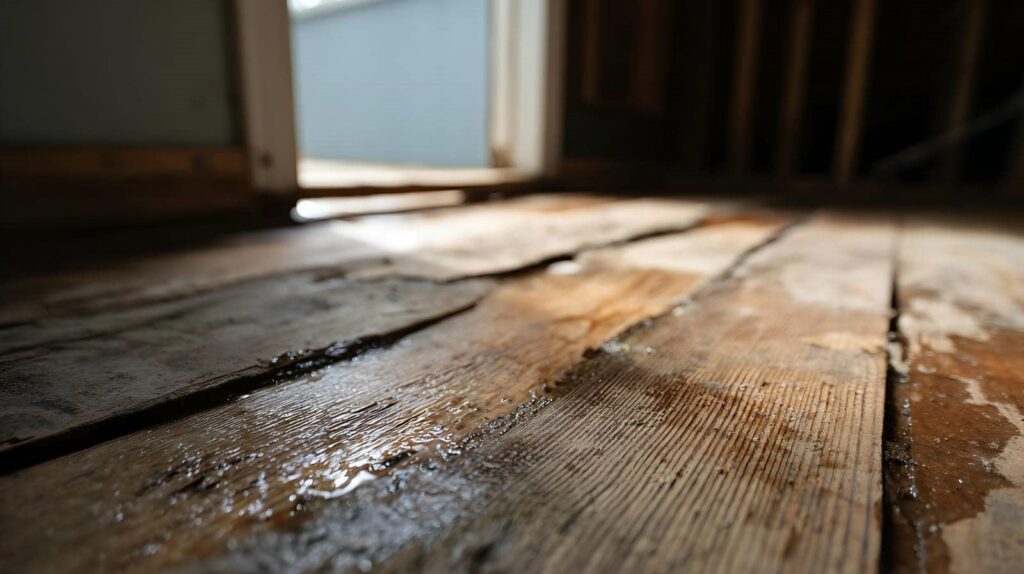
Water cleanup can look simple, yet hidden moisture can keep causing damage long after the puddles are gone. You need to stop the source, cut power, and remove standing water quickly, then shift wet items, dry concealed spaces, sanitize surfaces, and check for mold. The key step is knowing when the job has gone beyond DIY and needs professional equipment.
Key Takeaways
- Stop the water source immediately and shut off electricity to the affected area for safety.
- Remove standing water quickly with a wet/dry vacuum, pump, or absorbent materials.
- Increase airflow right away using fans, dehumidifiers, and open windows to speed drying.
- Inspect drywall, trim, cabinets, and hidden spaces for trapped moisture and mold risk.
- Call professionals for large, unsafe, or hard-to-dry water damage cleanup jobs.
Stop the Water Source and Shut Off Power
Before you do anything else, stop the water at its source and shut off electricity to the affected area if it’s safe to reach the breaker. You’ll reduce ongoing damage by closing the nearest valve, then checking the water source for a supply line, appliance, or fixture failure.
If you can’t isolate it quickly, contact building maintenance or your utility provider right away.
Next, perform a power shutdown for any wet rooms, especially where outlets, cords, or equipment sit near standing water. Don’t touch electrical devices with wet hands or while standing in moisture.
Your safety matters, and your team can move forward together once the area is de-energized and stable. Clear communication now helps everyone stay protected and prepares you for the next cleanup step.
Remove Standing Water Fast
You should remove standing water as quickly as possible with a wet/dry vacuum, pump, or absorbent tools to limit further damage.
Open windows and run fans or dehumidifiers right away to increase airflow and speed evaporation.
Fast water removal and immediate drying help reduce swelling, mold growth, and material deterioration.
Remove Water Quickly
Act fast to remove standing water, because every minute it remains can increase damage to floors, walls, and contents.
You should start water extraction immediately with a wet vacuum, sump pump, or pump-style extractor, depending on the depth and access. Work in sections so you can track moisture control and avoid missing pockets beneath furniture or baseboards.
If the water is contaminated, wear gloves and protective gear before you enter the area. Remove saturated rugs, boxes, and loose items quickly so you can reach the source and reduce spread.
You’re not handling this alone; a coordinated response helps your home feel recoverable again.
After the visible water is gone, inspect hidden low spots and repeat extraction until surfaces no longer show pooling.
Improve Airflow Fast
Once standing water is removed, increase airflow right away to speed evaporation and limit secondary damage. Open windows if outdoor humidity is lower than indoors, and place box fans to create cross-ventilation across wet floors, walls, and trim.
Use ventilation techniques that move moist air out and dry air in, but keep fans elevated if surfaces are uneven. If you can, run your HVAC system on fan mode with clean filters to support steady air circulation.
Close off unaffected rooms so you can focus drying where it matters most. Check hidden spaces behind furniture, baseboards, and cabinets, because trapped moisture lingers there.
You’re not dealing with this alone—these steps help your space dry faster, reduce odors, and protect materials before mold can take hold.
Move Wet Belongings Quickly
As soon as it’s safe to enter the area, move wet belongings out of standing water and into a dry, ventilated space to limit further damage. This emergency response step helps you reduce water damage and protect what matters most to you.
Sort items quickly, handling them carefully so you don’t spread contamination or crush fibers. Focus on valuables first, then porous materials. If you act with your team, you’ll feel more organized and less overwhelmed.
- Lift items, don’t drag them.
- Separate salvageable items from ruined ones.
- Bag small loose items together.
- Label everything for fast sorting later.
Keep paths clear and work methodically. Quick removal buys time, supports recovery, and gives your household a stronger, calmer start.
Dry Floors, Walls, and Hidden Spaces
After you clear the area, start drying floors, walls, and hidden spaces right away to stop moisture from spreading and causing mold.
Use floor drying tools such as squeegees, fans, and dehumidifiers to pull water from surface layers and subfloors. Open baseboards only if needed, and direct airflow behind them so trapped dampness can escape.
For wall restoration, check drywall, trim, and insulation for hidden moisture, then dry each section evenly to prevent swelling or warping. You should also inspect corners, cabinets, and under appliances, where water often lingers.
Keep the space ventilated and monitor progress until materials feel fully dry. When you work methodically, you protect your home and help your household feel safe, steady, and supported.
Clean and Sanitize Affected Surfaces
Start with one careful pass to clean and sanitize every affected surface, because removing residue now helps limit odors, bacteria, and future damage. You can use surface sanitization techniques that match the material, so you stay thorough without causing wear.
Apply effective cleaning agents as directed, then wipe in overlapping strokes for even coverage. Work from cleaner areas to dirtier ones, and switch cloths often to avoid spreading contamination.
- Use gloves and good ventilation.
- Test cleaners on a small spot first.
- Rinse food-contact surfaces after sanitizing.
- Let surfaces air-dry completely.
You’re doing the right thing by staying methodical. A disciplined cleanup restores your space, protects shared areas, and gives everyone there a safer, more comfortable place to return to.
Check for Mold After Water Removal
After water removal, you should inspect walls, baseboards, and corners for hidden mold signs such as discoloration, musty odors, or fuzzy growth.
Check damp materials like drywall, insulation, carpet padding, and wood, since trapped moisture can support mold within 24 to 48 hours.
If you spot any suspect areas, isolate them and plan prompt remediation to limit spread.
Hidden Mold Signs
Even when standing water is gone, moisture can linger behind walls, under flooring, and in insulation, creating conditions where mold can develop unnoticed.
You can spot hidden growth early by watching for subtle clues and using mold prevention strategies with indoor humidity control.
- Musty, earthy odors
- New allergy or irritation flare-ups
- Dark specks near seams or vents
- Warped paint or soft drywall
If you notice any of these signs, act quickly and keep the area dry. Use a hygrometer to confirm that indoor levels stay below 60%.
Seal small gaps, run ventilation, and track changes daily. You’re not guessing; you’re verifying conditions so your space stays safer, cleaner, and easier to return to.
Inspect Damp Materials
Once the visible water is gone, you should inspect any materials that stayed damp, because hidden mold can begin growing before surfaces look damaged.
Focus on damp material types such as drywall, insulation, carpet padding, wood trim, and cardboard. Use a moisture assessment tool or a trusted visual check to confirm what’s still wet.
If you notice a musty odor, discoloration, softening, or warping, treat the area as contaminated. Remove and bag unsalvageable items promptly, and keep reusable materials drying with airflow and dehumidification.
Wear gloves and a mask to protect yourself while you work.
Know When to Call the Pros
When water has spread into walls, ceilings, flooring, or electrical systems, you should call a professional cleanup team right away. Their emergency response limits secondary damage and helps you regain control fast.
A trained crew brings moisture meters, extraction tools, and drying plans your home needs. They’ll deliver a professional assessment to spot hidden wet areas, mold risk, and structural compromise.
- Water reaches outlets or wiring
- Saturated drywall, insulation, or subflooring
- Sewage, floodwater, or unknown contamination
- Odors, staining, or swelling after 24 hours
You don’t have to manage this alone; the right team fits into your recovery plan and protects your space with clear, careful action.
Trust the experts when the job exceeds safe DIY limits.
Frequently Asked Questions
How Do I Document Water Damage for an Insurance Claim?
Document water damage by photographing every affected area, listing damaged items, and noting dates, causes, and repairs. You’ll strengthen the claim process with a clear damage assessment, making your insurer feel confident and supported.
Can I Use Household Fans to Speed up Drying?
Yes, you can use household fans to speed drying—like a well-tuned breeze guiding recovery. Place fans for ideal fan placement and airflow techniques, keep them running continuously, and you’ll help your space dry faster and feel cared for.
What Should I Do With Food Exposed to Floodwater?
You should discard any food exposed to floodwater; it’s a food safety risk. Don’t taste it. Keep sealed cans only if undamaged, then sanitize them. During flood recovery, you’ll protect your household and community.
How Long Does Carpet Padding Take to Dry?
Carpet padding usually takes 24 to 72 hours to dry. You should extract, circulate, and dehumidify for faster drying. With proper carpet cleaning and drying techniques, you’ll protect your space and restore comfort.
Are Dehumidifiers Necessary After Minor Leaks?
Not always, but you’ll benefit from one if humidity lingers. A dehumidifier improves moisture control, speeds drying, and helps prevent mold. After minor leaks, you can monitor conditions and skip it if materials dry quickly.
Conclusion
In the end, you can limit damage by acting fast and methodically. Stop the source, cut power, remove water, and dry every hidden space before mold gains a foothold. Clean and sanitize all affected surfaces, then keep checking for lingering moisture. If the damage is widespread or materials stay soaked, don’t hesitate to call a pro. Your quick, disciplined response turns a modern mess into a manageable repair, not a soggy catastrophe from another age.