
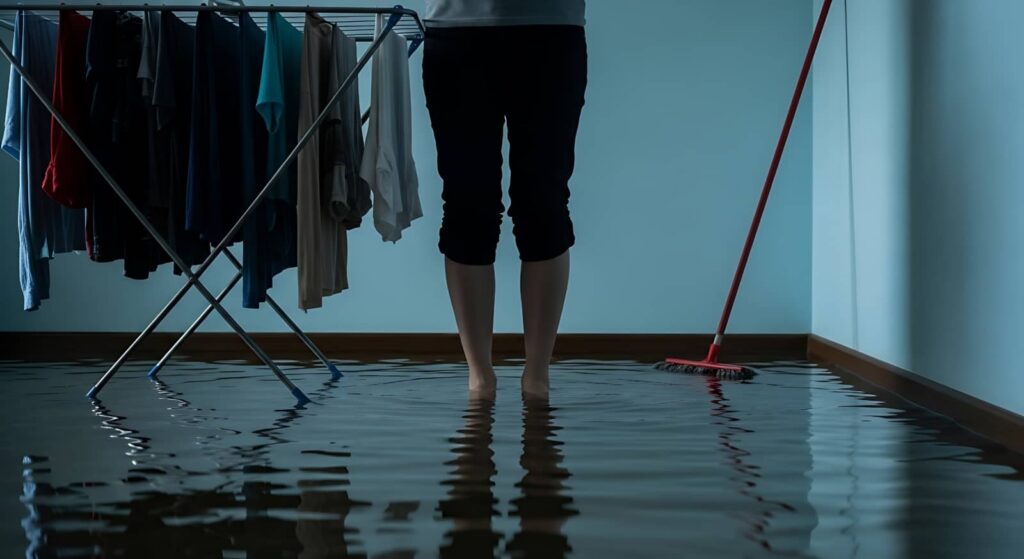
Structural Drying is one of the most important steps after flooding because moisture can quickly spread into framing, drywall, and subfloors. You need to shut off the water, identify the wettest materials first, and remove standing water before setting up air movers and dehumidifiers. Then you track moisture levels daily to confirm each layer is drying at the right rate. The details matter here, because one missed area can undo the whole job.
Key Takeaways
- Shut off water, isolate the area, and document damage before starting cleanup or drying.
- Remove standing water and debris quickly to improve airflow and expose hidden moisture.
- Set dehumidifiers and air movers to dry wet surfaces, cavities, and enclosed spaces.
- Monitor temperature, humidity, and moisture readings daily until materials reach safe levels.
- Remove unsalvageable porous materials, disinfect hard surfaces, and maintain mold prevention throughout drying.
Stop Water Damage Fast
The faster you stop water intrusion after a flood, the less damage it can do to framing, drywall, insulation, and flooring. Shut off the main supply if you can reach it safely, then isolate the area and call for emergency response.
Move with your crew or family in a clear sequence so everyone knows their role and no one wastes time. Use sandbags, plastic sheeting, or temporary patches to divert incoming water and limit water damage.
Pull down loose coverings only when they trap moisture and create unsafe load. Keep notes on what you see, because accurate records help your team act fast and stay aligned.
When you respond together, you protect the structure and support each other through the mess.
Check What Needs Drying First
Once the water source is controlled, inspect the affected area and rank what needs drying first.
Start with a quick property assessment: note structural materials, contents, and hidden cavities. Prioritize items tied to flood insurance and insurance claims, because clear documentation supports fast approval.
Keep safety precautions in place, and use emergency kits for lights, gloves, and masks.
Next, identify what restoration professionals should treat first, including saturated drywall, insulation, flooring, and framing.
Apply suitable drying techniques based on material porosity and thickness.
Follow cleanup protocols that support efficient water extraction and reduce secondary damage.
As you work, use preventative measures to limit cross-contamination and protect unaffected rooms.
You’re part of a prepared team when you sort damage methodically and act in the right order.
Remove Standing Water and Debris
You should remove standing water immediately with pumps, wet vacuums, or squeegees to reduce saturation and limit further damage.
Then clear debris, silt, and loose materials from floors, walls, and cavities so airflow and drying equipment can work effectively.
Keep the area clean and accessible, because residual debris can trap moisture and slow structural drying.
Standing Water Removal
Standing water needs immediate removal because it slows drying, promotes microbial growth, and can damage materials further.
You should begin water extraction with equipment matched to the depth and floor type, then work methodically toward low points. Follow safety precautions by shutting off power to affected areas, wearing protective boots and gloves, and checking for unstable surfaces before you step in.
Use pumps, wet vacuums, or weighted hoses to pull water from carpet, subfloor, and hard surfaces as soon as possible. Keep the work area controlled so you can monitor moisture and prevent re-accumulation.
You’re part of a crew that acts fast, stays organized, and protects the structure. After bulk water is gone, inspect hidden pockets along baseboards, corners, and penetrations.
Debris Clearance Steps
After bulk water removal, clear loose debris, broken materials, and saturated contents so drying equipment can reach all affected surfaces.
You’ll inspect debris types first: drywall fragments, soaked insulation, carpet pad, wood trim, and contaminated contents. Sort salvageable items from discardable ones, then bag waste immediately to prevent spread.
Use clearance tools such as shovels, squeegees, brooms, utility knives, HEPA vacuums, and heavy-duty carts to lift, collect, and move material safely. Keep pathways open to reduce trip hazards and improve airflow.
Remove baseboard pieces, wet underlayment, and collapsed ceiling material before setting dehumidifiers and air movers. Work systematically room by room, documenting what you remove.
That keeps your team aligned, speeds drying, and helps you restore the space with confidence.
Set Up Structural Drying Equipment
Place dehumidifiers and air movers where they can cover the wettest materials without blocking each other or the work area.
Aim airflow across damp surfaces and through enclosed spaces so you keep moisture moving out of the structure.
Then monitor temperature and relative humidity at regular intervals so you can adjust equipment placement and drying intensity as conditions change.
Equipment Placement Basics
Start by positioning air movers to drive airflow across wet surfaces and beneath materials, because effective drying depends on direct, uninterrupted movement of air.
Choose equipment types that match the space: low-profile units for tight cavities, axial fans for broad rooms, and dehumidifiers near the driest return path.
Use placement strategies that keep each machine stable, elevated when needed, and clear of debris, cords, and standing water.
Space units so you cover every affected zone without blocking access for inspection.
Keep hoses and drains secure, and label power circuits so your team can work safely and confidently.
You’re building a controlled setup, so verify that each piece supports the others.
When you place gear well, you shorten drying time and protect the structure.
Airflow And Circulation
Once your equipment is positioned, fine-tune airflow so it moves across wet surfaces, through cavities, and back to the dehumidification zone without dead spots. You’ll improve drying rate by reading airflow patterns and adjusting circulation techniques to keep air movement continuous.
Aim vents, axial fans, and injectors so they support moisture distribution instead of short-circuiting. Use ventilation methods that push air into wall voids, under flooring, and around framing, then confirm the return path stays open for humidity control.
Small angle changes can raise equipment efficiency and shorten drying time. When you work with your team, compare notes on airflow optimization so everyone keeps the same target zones.
Precise circulation helps you dry faster, protect materials, and stay confident in the process together.
Monitor Temperature And Humidity
Track temperature and humidity as soon as you power up the drying equipment, because those readings tell you whether the system is pulling moisture out of the structure efficiently.
You’ll keep the crew aligned when you log data at the same times each day and compare it against baseline conditions. Use humidity control to drive relative humidity down, and adjust temperature regulation so air stays warm enough for evaporation without overheating materials.
- A meter glowing beside wet framing
- Condensation fading from a window edge
- Warm air moving across exposed subfloor
- Notes on a clipboard beside dehumidifiers
If readings stall, reposition sensors, check door seals, and verify equipment output.
You’re not guessing; you’re steering recovery with clear measurements.
Check Moisture Levels Each Day
Each day, you should check moisture levels in the affected materials, because drying progress can change quickly after flooding. Use a calibrated meter and compare readings from the same locations during daily checks.
Record each moisture measurement, note the date, time, and material type, and watch for steady declines rather than sudden spikes. If you’re part of a restoration team, share results so everyone works from the same data and avoids guesswork.
Focus on areas that stay damp longer, and keep measuring until values match your target range. Consistent tracking helps you confirm that the structure is moving toward safe, stable conditions and lets you catch setbacks early, before they slow the job or create new problems for the crew.
Dry Walls, Floors, and Framing
Dry walls, floors, and framing with controlled airflow and dehumidification so moisture leaves the structure at a steady rate.
You’ll protect the assembly by directing fans across wet surfaces, not straight into corners, and by keeping dehumidifiers sized for the space.
These drying techniques work best when you open cavities and expose hidden framing.
Maintain moisture control by checking lumber, drywall, and subfloor readings from the same points each day.
- Picture a fan pushing air along a damp stud wall.
- Picture carpet lifted from a floor edge to release trapped dampness.
- Picture a dehumidifier pulling wet air from a room.
- Picture framing turning lighter as it dries.
You’re doing the right thing when surfaces feel stable and readings trend downward.
Prevent Mold After Flooding
Once the structure is drying, you need to stop mold before it starts by removing moisture fast and keeping surfaces clean and exposed.
Check hidden cavities, baseboards, and insulation daily so you can catch damp spots early. Run dehumidifiers continuously, and keep air circulation strong with fans and open pathways across rooms.
Remove wet porous materials that can’t dry within 24 to 48 hours, because they trap spores and slow mold prevention. Disinfect hard surfaces with an EPA-registered cleaner after debris removal, and wear gloves and a respirator when you work.
Seal leaks, drain standing water, and maintain indoor humidity below 60%.
When you stay organized and act quickly, you protect the structure and help your crew move forward with confidence.
Frequently Asked Questions
How Long Does Structural Drying Usually Take After Flooding?
Usually, you’ll need 3–7 days for structural drying, but severe saturation can take longer. You should perform a moisture assessment early and throughout the drying process to verify progress and keep your space safe.
Can I Dry Flooded Areas Without Professional Equipment?
You can dry some flooded areas yourself, but you’ll need strong drying methods and careful monitoring. For minor flood damage, fans, dehumidifiers, and ventilation help. For deep saturation, you’ll likely need professional equipment.
When Should Electrical Systems Be Inspected After Flooding?
You should inspect electrical systems immediately after floodwater recedes; 68% of post-flood fires start with hidden faults. You’ll protect electrical safety by having a licensed electrician assess flood damage before you restore power or use outlets.
Is It Safe to Stay in the Building During Structural Drying?
No, you shouldn’t stay in the building unless a professional says it’s safe. You face air quality concerns, health risks, and equipment noise. If you must enter, wear PPE, ventilate, and limit time.
When Should Damaged Drywall Be Completely Removed?
Remove damaged drywall once your moisture assessment shows saturation, swelling, or mold risk. If the board’s been wet over 24-48 hours, you should cut it out and start drywall replacement, so you can protect your space.
Final Thoughts
Structural drying after flooding works best when you act fast, prioritize the wettest areas, and keep equipment running until moisture readings normalize. You’ve got to remove standing water, move air with air movers, and use dehumidifiers to pull out hidden moisture in walls, floors, and framing. Check levels every day and keep indoor humidity under 60%. Done right, your drying plan is a roadmap that helps you stop damage before mold takes hold.