
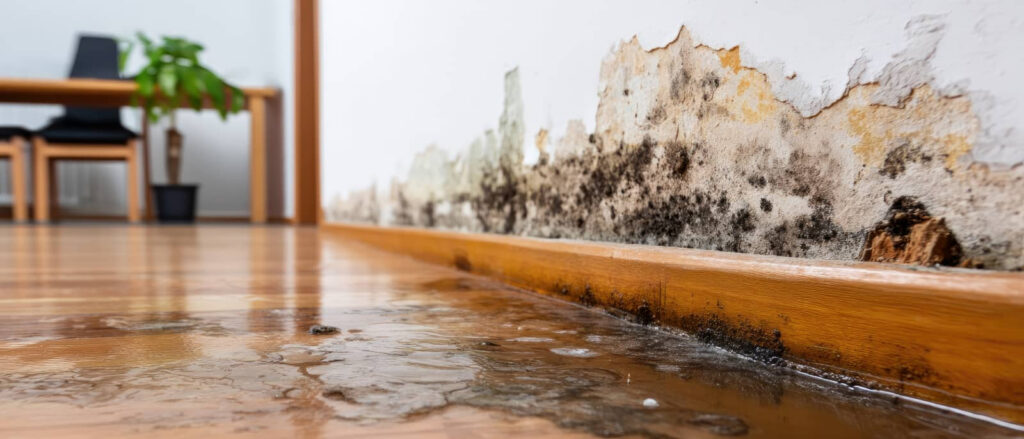
After water damage, you need to find what’s wet before you can fix what’s broken. You’ll start with a careful visual check for warped trim, stains, and odors, then use moisture meters and thermal imaging to locate hidden saturation. Finally, you’ll document every reading before repairs begin. The details matter here, because what you miss now can turn into a larger problem later.
Key Takeaways
- Inspect for hidden water damage signs like soft drywall, warped trim, peeling paint, and musty odors.
- Use a moisture meter room by room to find damp walls, floors, corners, and baseboards.
- Pair moisture readings with thermal imaging to locate cooler, wetter areas faster.
- Document moisture levels with photos, notes, dates, locations, and material types before repairs begin.
- Track readings over time to confirm drying progress and protect the job, team, and repair decisions.
Identify Hidden Water Damage
Even after visible water dries, hidden damage can remain behind walls, under flooring, and inside insulation.
You should inspect for soft drywall, warped trim, peeling paint, swollen baseboards, and musty odors that signal trapped moisture. Check seams, corners, closets, and utility chases where water often travels unnoticed.
Look for water stains on ceilings and around outlets, because they can mark a larger wet area than you see. If floors feel spongy or buckled, moisture may be compromising structural integrity.
You can also compare affected areas with dry spaces to spot subtle discoloration, rust, or caulk failure. Act quickly and document findings so you can coordinate repairs with confidence.
When you identify hidden damage early, you protect your home and your peace of mind.
Use Moisture Meters and Thermal Imaging
A moisture meter gives you exact readings in walls, floors, and trim, so you can tell whether an area is still wet or just stained. You can move room to room and perform a careful moisture assessment without guessing.
Use the meter on multiple points, especially near baseboards, corners, and junctions where water hides. Then pair it with thermal detection to spot cooler areas that often signal trapped moisture behind finishes.
This combo helps you confirm damage faster and guides your next steps with confidence. You’re not alone in this process; when you use the right tools, you work like the rest of the pros.
Check both surface readings and temperature patterns before you assume a space has dried.
Document Moisture Levels Before Repairs
Before you repair anything, record each moisture reading with the location, date, and affected material so you have a clear baseline. Use moisture mapping to show where saturation is highest, then add photos and notes so your damage documentation stays complete and defensible. You’re part of the process when you track conditions carefully, because every reading helps your crew make the right call.
- Mark walls, floors, and framing by zone.
- Note meter type and calibration status.
- Log readings at multiple depths.
- Store files in one shared folder.
Keep your records consistent before demolition, drying, or rebuild work starts. That way, you can compare progress, prove drying performance, and avoid disputes later.
When you document well, you protect the job and the team.
Frequently Asked Questions
How Soon Should Moisture Inspections Begin After Flooding?
You should start moisture inspections immediately after flooding, ideally within hours, so you can perform flood assessment and moisture detection before hidden damage spreads. Acting fast helps you protect your space and stay confident.
Can Moisture Hide Inside Walls Without Visible Stains?
Yes, hidden moisture can linger inside walls without visible stains. You should use wall inspections with meters and thermal imaging to detect trapped dampness early, protect your space, and keep your team informed.
Should I Inspect Ceilings After a Leak?
Yes—you should inspect ceilings after a leak, even if they look fine. Different ceiling materials can trap moisture, and hidden leak sources may keep spreading damage. You’ll protect your home faster and feel confident together.
How Often Should Moisture Levels Be Rechecked?
You should recheck moisture levels daily at first, then every few days until readings stabilize. Use moisture monitoring and detection techniques to confirm drying, and you’ll protect your space while staying part of the recovery process.
Can Untreated Moisture Lead to Mold Growth?
Yes—untreated moisture can absolutely fuel mold growth, because mold loves a damp free-for-all. You’ll need mold prevention strategies and humidity control techniques to keep surfaces dry, protect materials, and help your space stay healthy.
Summary
You can’t see water damage heal itself, so you inspect it like a problem, not a puddle. First, you identify hidden damage by checking for warped trim, stains, and musty odors. Then, you use moisture meters and thermal imaging to locate saturated materials with precision. Finally, you document moisture levels before repairs, because what you don’t record can’t guide restoration. That’s the irony: the best way to dry a structure is to measure its wettest points.